Description
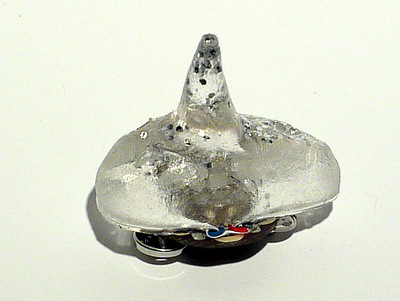
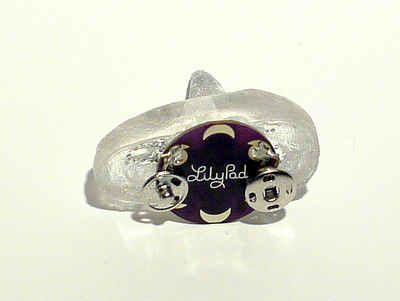
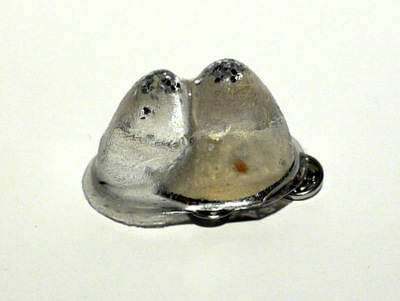
The later beads drew from previous iterations where electronics were embedded in resin during the curing process. After discovering that LEDs function well when embedded this way, they were substituted with auto-change RGB LEDs to make the beads more funky. Vibrating motors, attached to Lilypads were also used to push the design to be more tactile.
Custom moulds were made using vacuum formed plastic and paper clay positives. These allowed for more depth when casting with all electronics. Fast cure resin was used to speed up prototyping and exploration of various material combinations. Glitter and snap connectors were still used to refract light and simplify the connection mechanism.
Design and research questions
- Can the LED arrays be adapted in some way to make them more appealing?
- Is it possible to incorporate a vibrating motor, to increase the tactility of the bead?
- Given the restraints of commercially available resin moulds, can we make our own to accommodate more electronics into the bead design?
Components
- Auto-change RGB LEDs
- Lilypad with Vibrating motor attached
- Fast cure resin
- Metal Snaps
- Glitter
- 3V battery
Discussion
Having successfully incorporated auto-change LEDs, vibrating motors and Lilypad into the beads, questions arose regarding buttons, switches and the Arduino. Without switches or addressable LEDs, beads would run constantly when connected to the bracelet. This led to more focused material investigations for band designs.